Successfully deep-frying a turkey automatically puts you into Thanksgiving-hero status. What’s not to love about a juicy, tender inside and super crispy outside? Deep-frying can be risky business, though, so we created a step-by-step guide to ensure your bird-cooking is executed successfully (explosion and injury-free).
Here’s what you’ll need:
- Paper towels
- Long sleeves
- Grilling gloves
- Goggles
- Turkey fry basket and hook
- Fryer pot
- Peanut oil (preferred) or canola oil
- Meat thermometer
- Wire rack
- Fire extinguisher (safety first!)
STEP 1: THAW. Thaw your pasture-raised turkey properly. This step is incredibly important for deep-fried turkeys because putting a partially frozen or frozen turkey in a hot fryer can lead to a fire, explosion or large oil spill. Don’t forget to check the inside cavity for frozen spots, too!
Make sure you give yourself 3 to 6 days (depending on the size) to fully thaw your turkey in the fridge. Allow around 6 hours per pound for thawing.
Medium (12-15 pounds): 3-4 dayssLarge (15-16 pounds): 4-5 days
X-Large (18+ pounds) : 5-6 days
Leave the turkey in its original, unopened plastic, placed breast side up on a pan or in a bowl to contain any extra liquid that may come out while it defrosts. Once thawed, your turkey can stay in the fridge for another 1 to 2 days before cooking. Be sure to remove the neck and giblets.
STEP 2: DRY. Pat the outside and inside of your turkey dry with a paper towel. If you have time, place the thawed bird uncovered in the fridge to further dry out. The circulating cool air helps reduce the moisture on the skin, keeping oil-pops to a minimum.
When you’re getting ready to cook it, take it out of the fridge and let it sit at room temperature for 30-60 minutes (this can be while your oil is heating up!). Letting it sit will help it cook more evenly.
STEP 3: PREP. Peanut oil is the preferred oil for deep frying a turkey, but canola oil can also be used. Set your fryer on concrete a good distance away from your house. It will take around 20 to 30 minutes to heat the oil to 350°F.
While the oil is heating, make sure your turkey is properly secured in the fry basket and lift hook. The turkey should be facing down, neck end first with the cavity on top. Wear goggles, long sleeves, and gloves.
Turn off the propane before very slowly lowering the turkey into the fryer to prevent splashing and a boil-over. Once you have your turkey fully submerged, turn the burner back on. The oil will have dropped in temperature, so watch it carefully and adjust until it levels back out to 350°F.
STEP 4: FRY. Pasture-raised turkeys are slightly leaner than your typical grocery store turkey, so only fry your bird about 2.5 minutes/pound (as opposed to 3.5). Always keep an eye on your turkey and the oil temp — the air temperature and wind can make it change quickly! When your bird is getting close, lift it out of the oil and test the internal temperature to make sure it has reached 165°F.
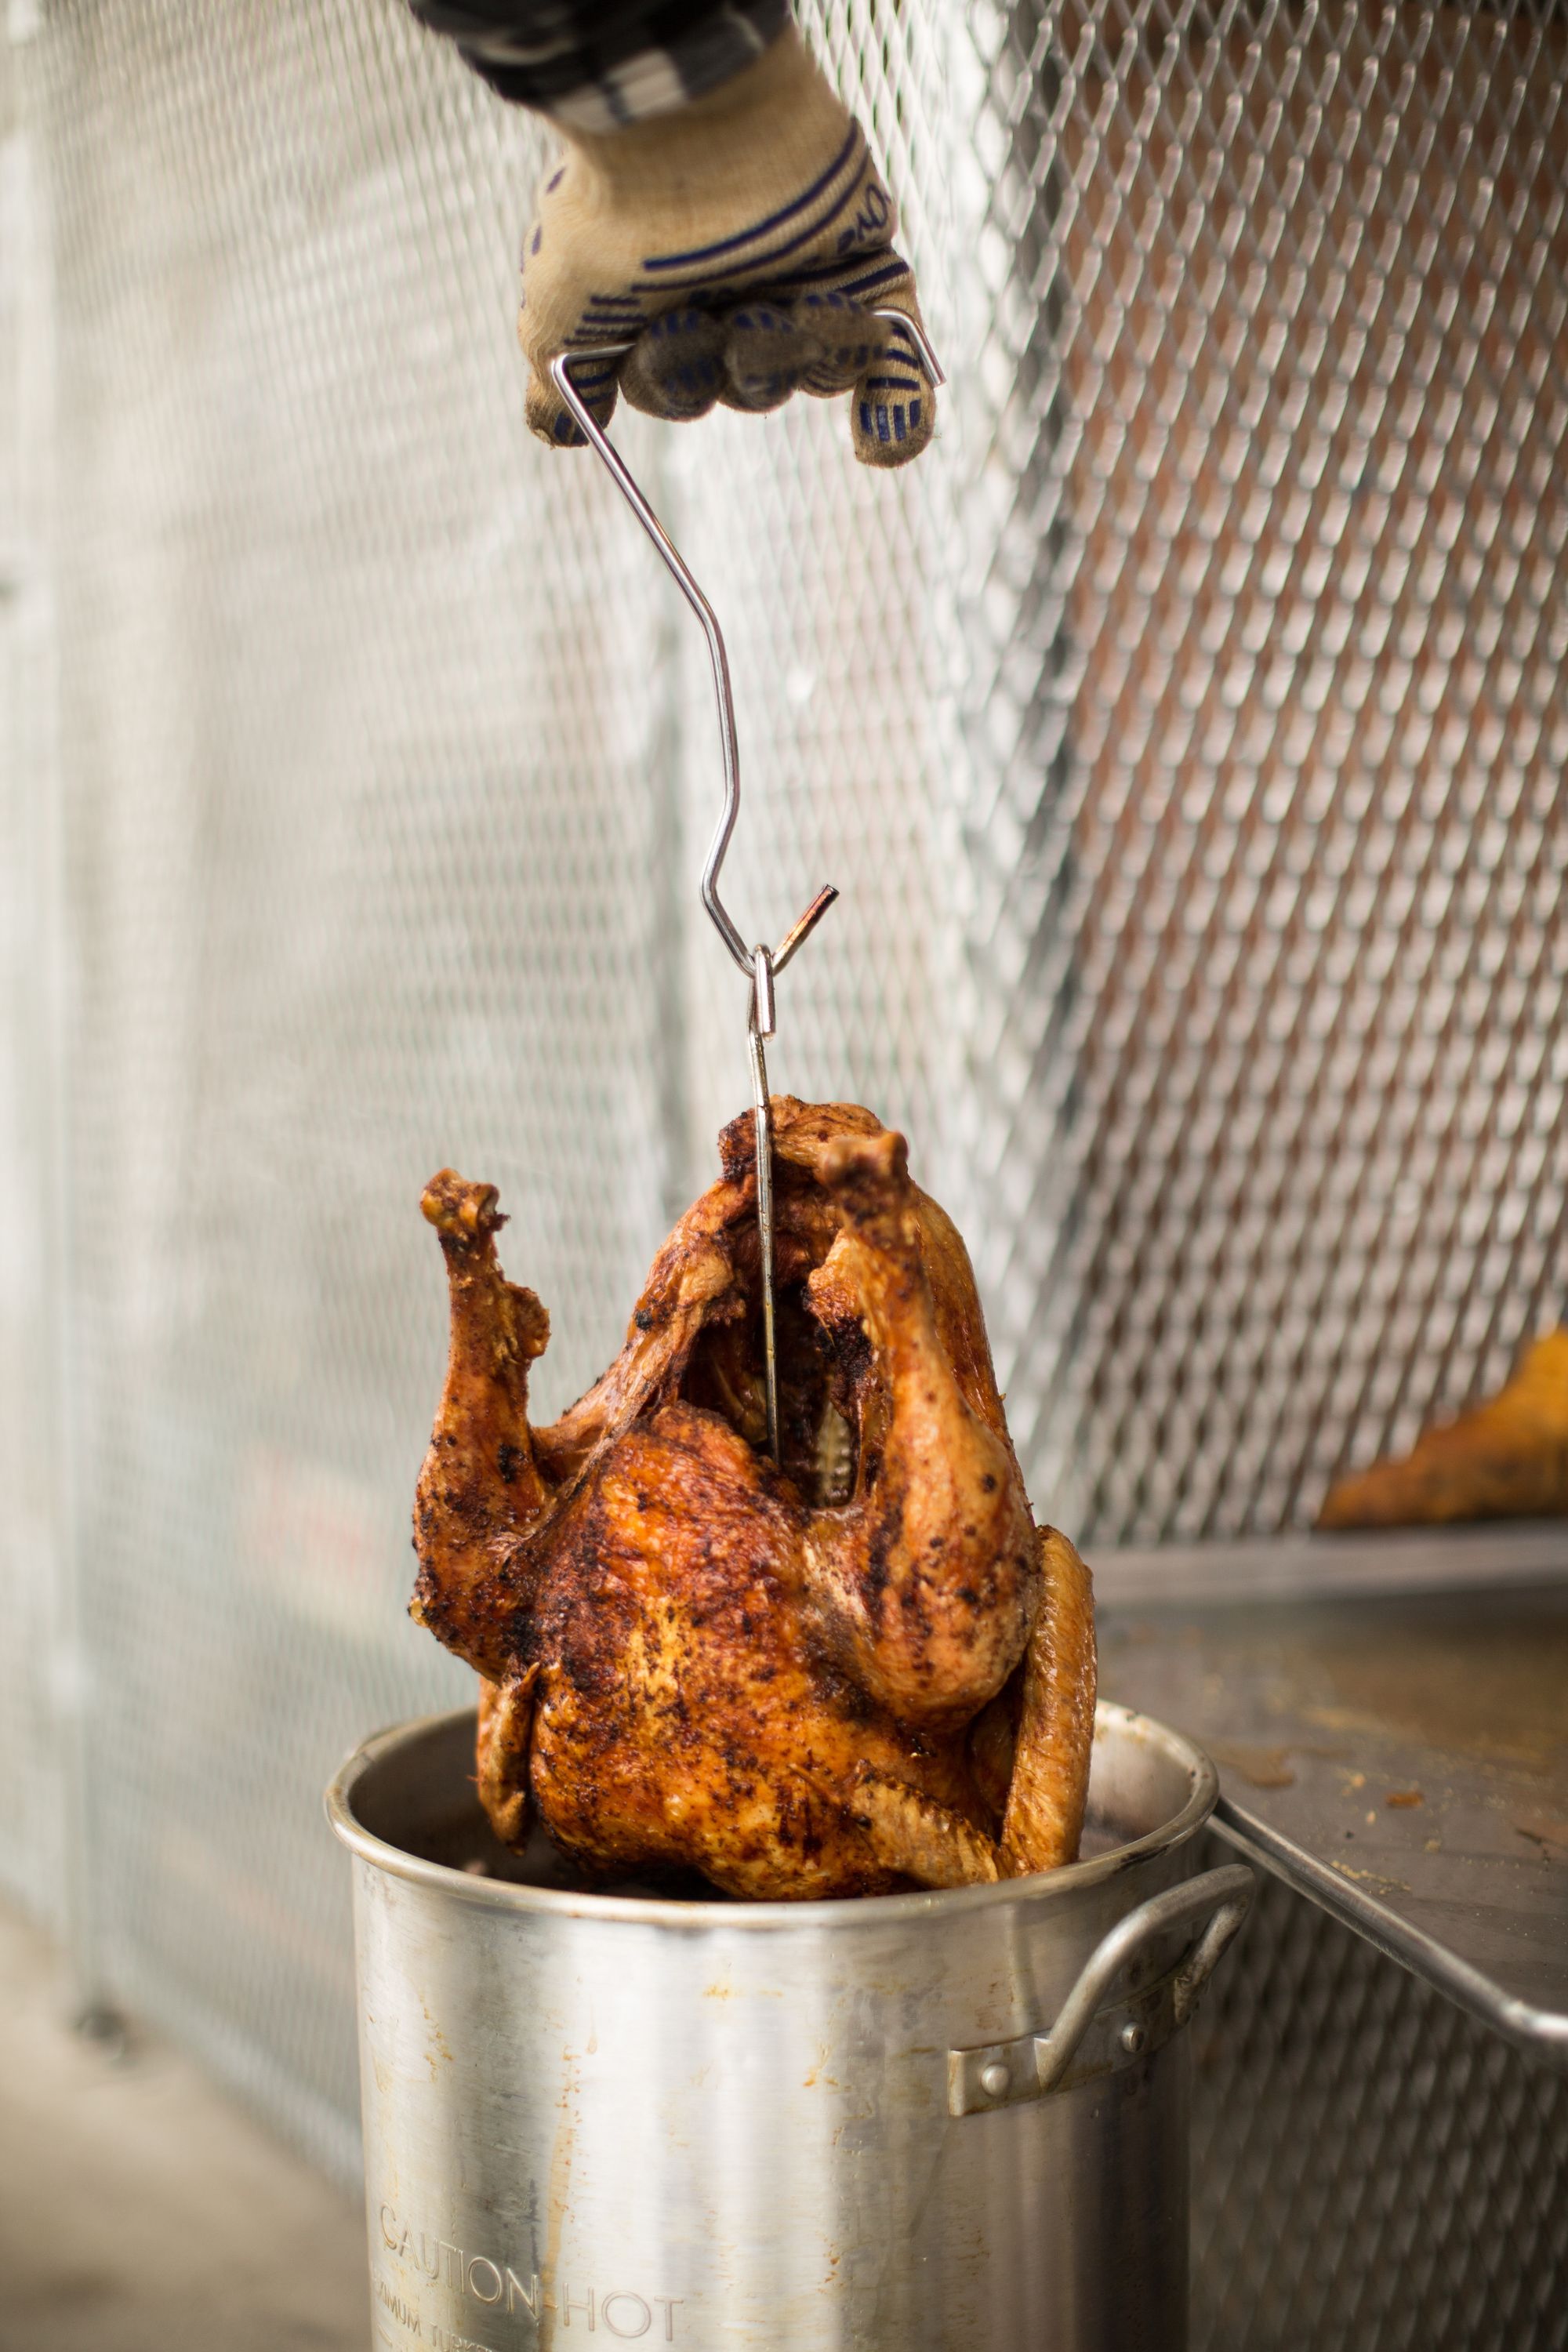
STEP 5: REMOVE & REST. Carefully remove your turkey and place it on a wire rack to let some of the oil drain off. The rack will also help keep the bottom skin stay super crispy. You’ll want to let it rest for at least 30 minutes before carving, which helps redistribute the juices and keeps the meat exceptionally moist.
STEP 6: CLEAN-UP. The oil itself will keep, but make sure there are no turkey pieces left in it if you plan on saving it for next year. You can reuse this oil up to 4 or 5 times (plus it retains some of the spices from previous cooks, adding flavor!)
Happy frying!
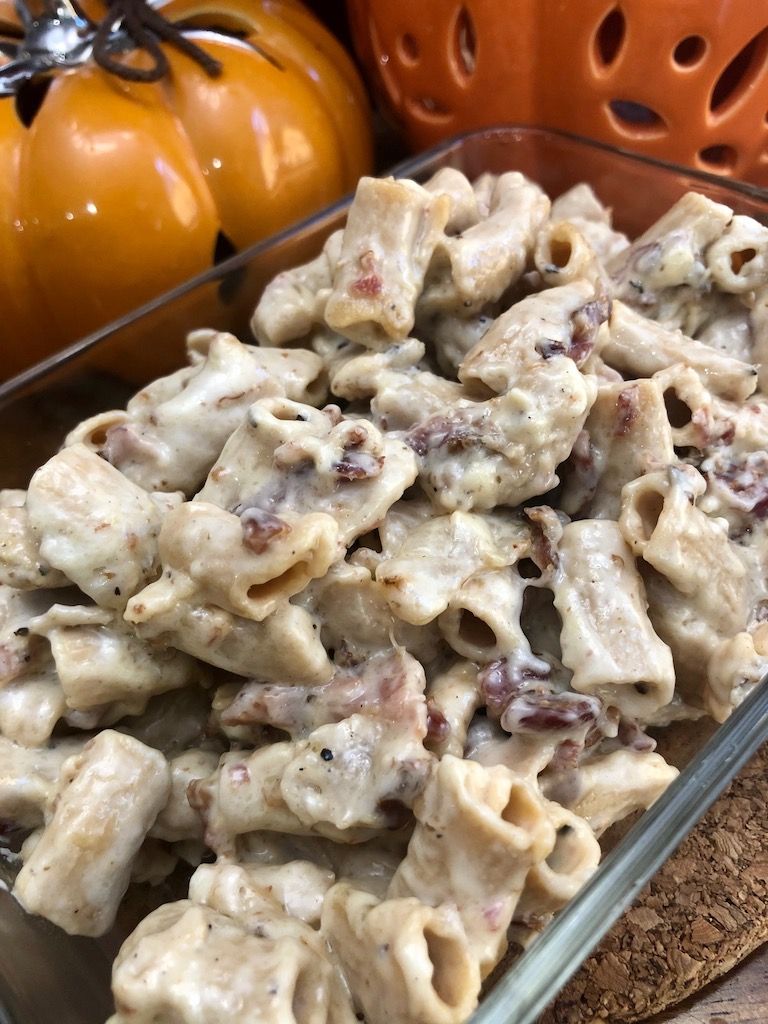
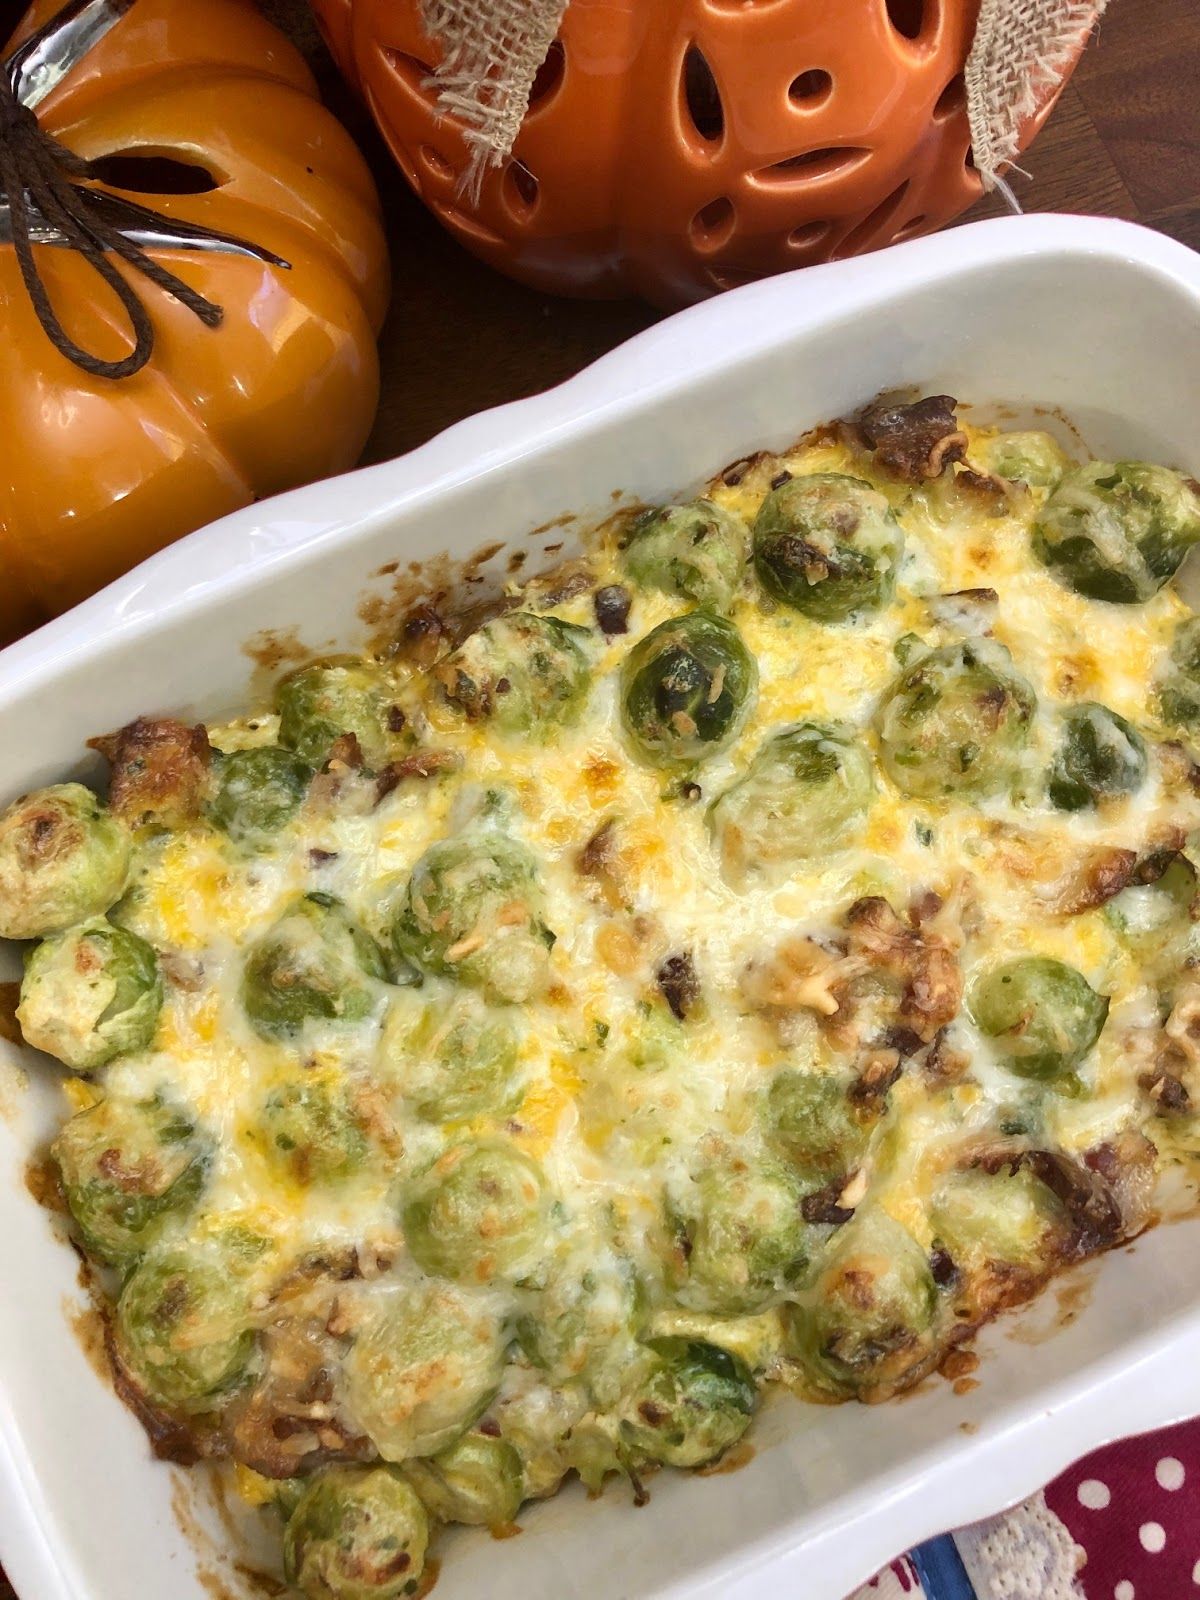
Don’t forget about side dishes — check out these 4 keto-friendly recipes from Crowd Cow ambassador Maggie H. (@theketogenicmermaid).

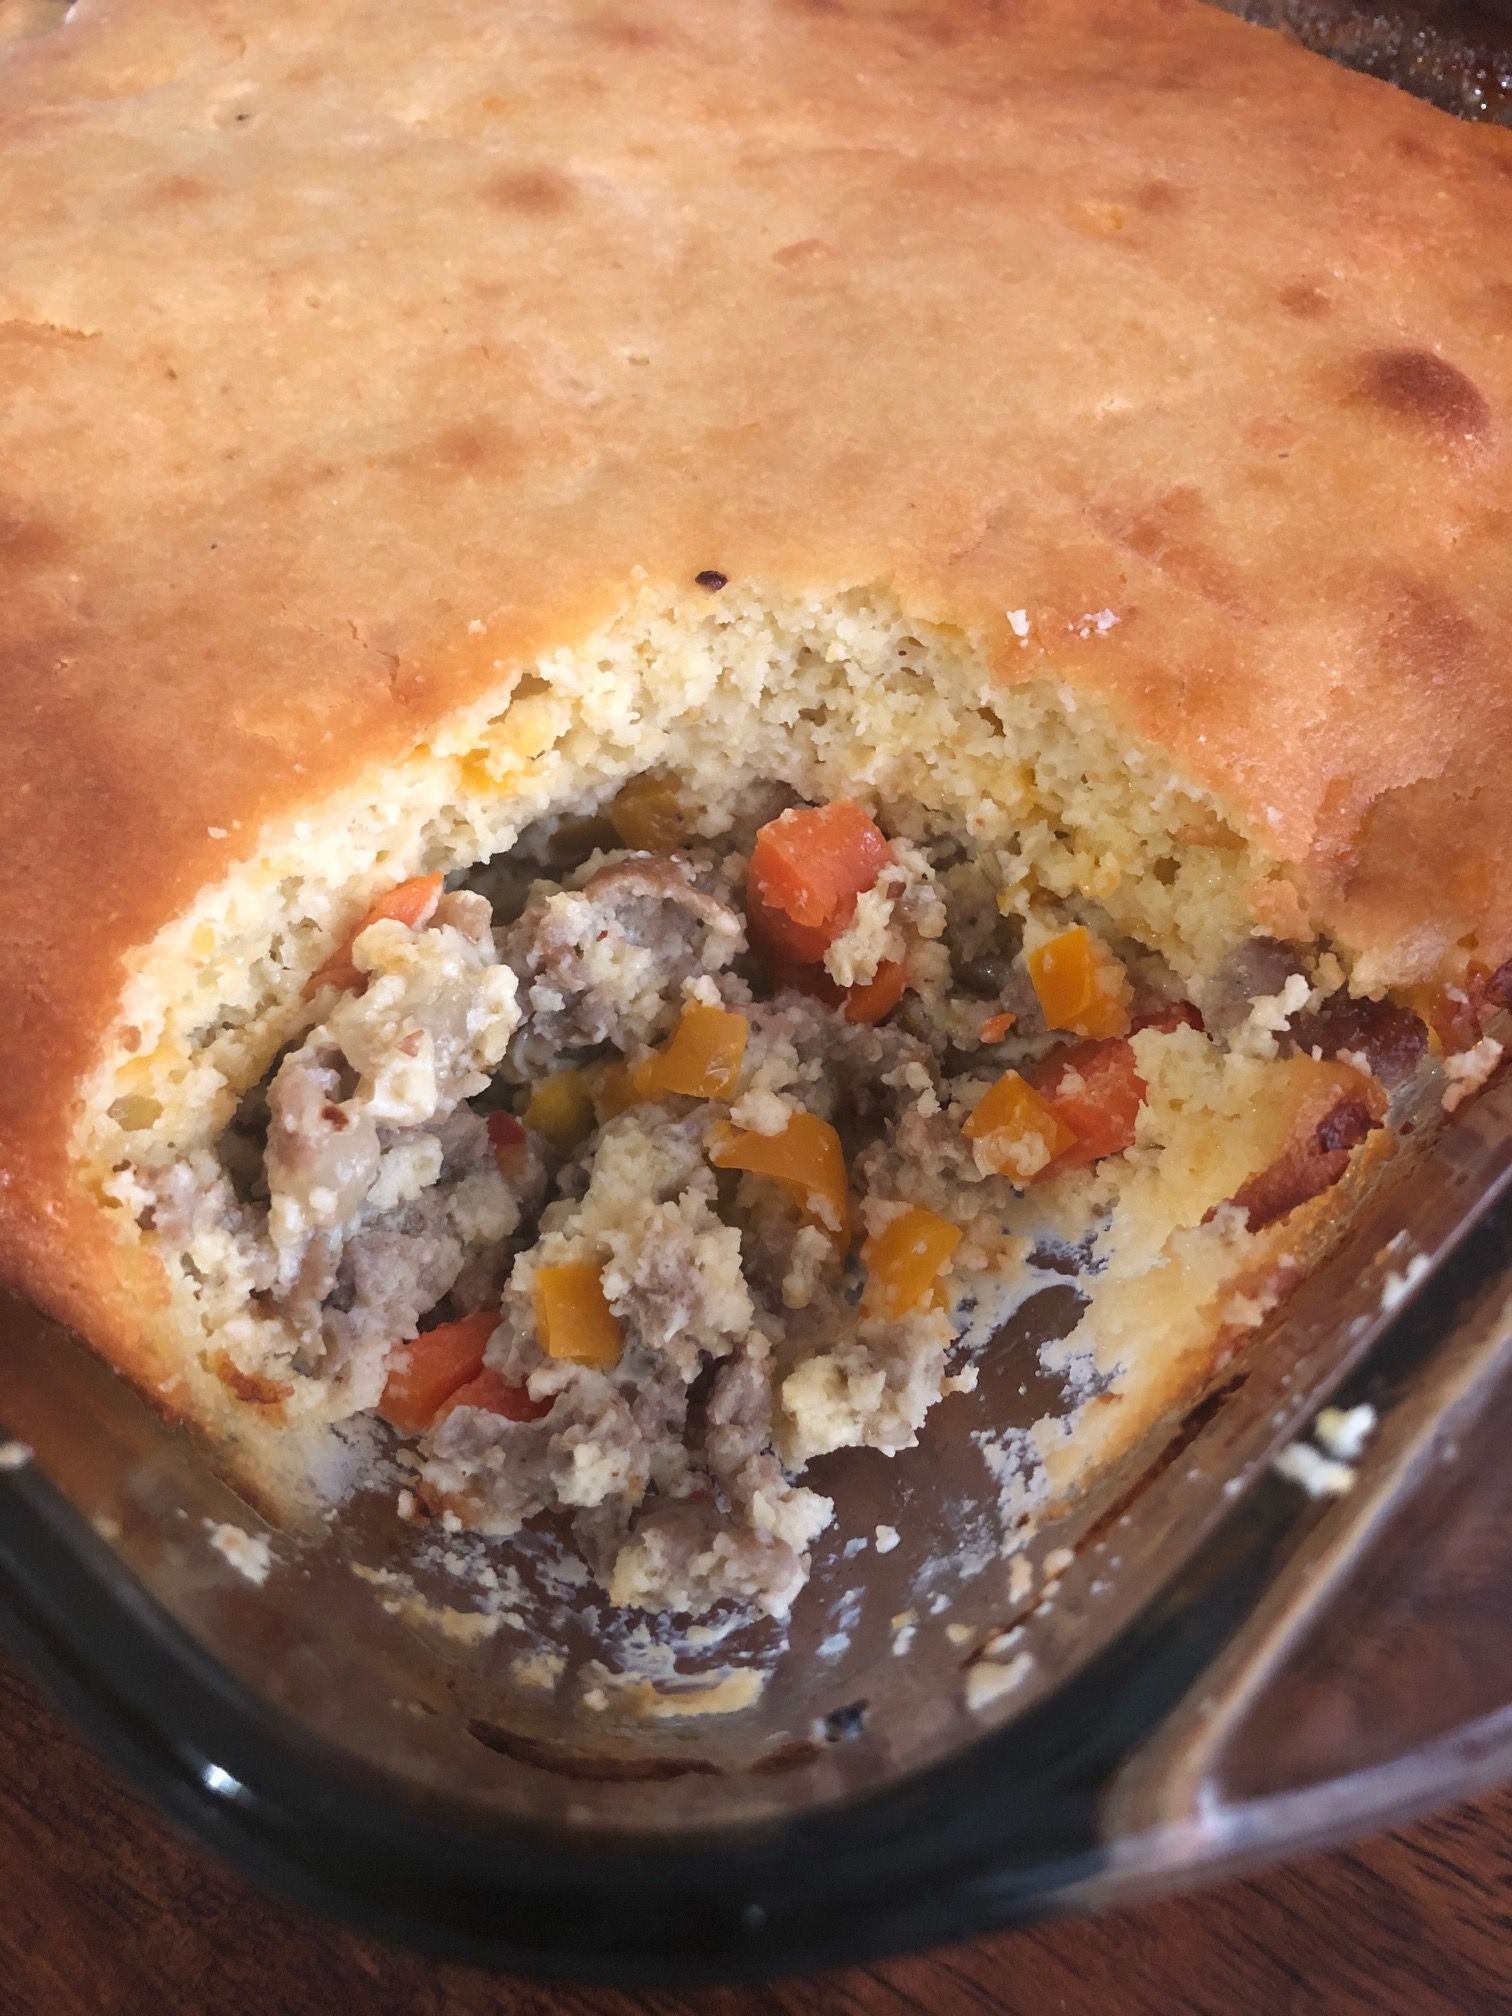
Cornbread Stuffing with Italian Sausage